Editing photos can seem overwhelming. There are a lot of different photo editing apps and hundreds of filters. It can feel a bit overwhelming, especially if you are just getting started editing your photos. I change my editing style every few weeks because I like to experiment with different aesthetics. I love moody Instagram photos- this step-by-step guide will show you how I edit them with A Color Story and VSCO.I primarily use A Color Story and VSCO. Both of these apps have powerful editing capabilities- I’ve been using them for years. Both apps are free, but you can purchase additional filters within the app (it is worth it!).

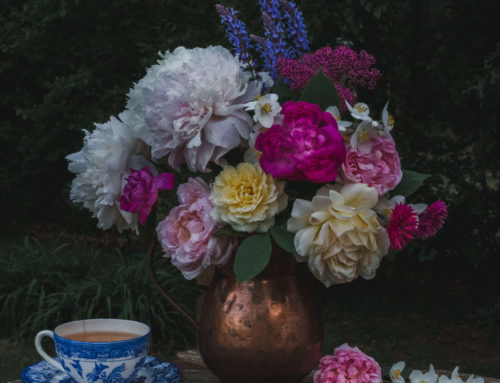
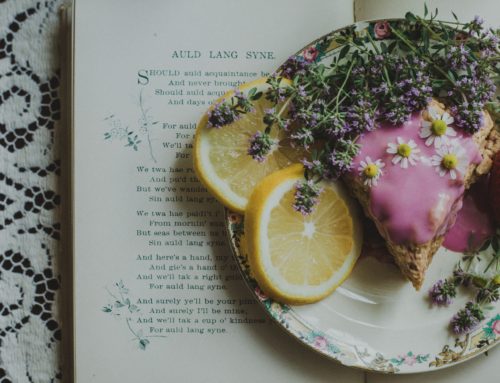
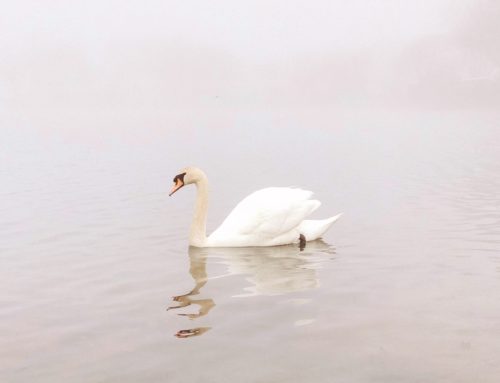
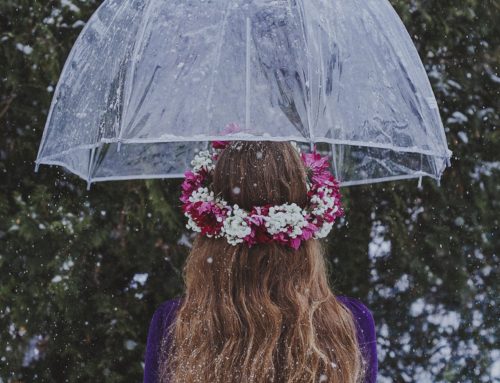
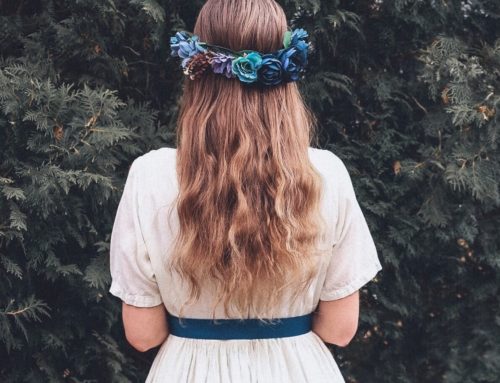
All of these images have been edited with this method. So let’s get started editing moody Instagram photos!
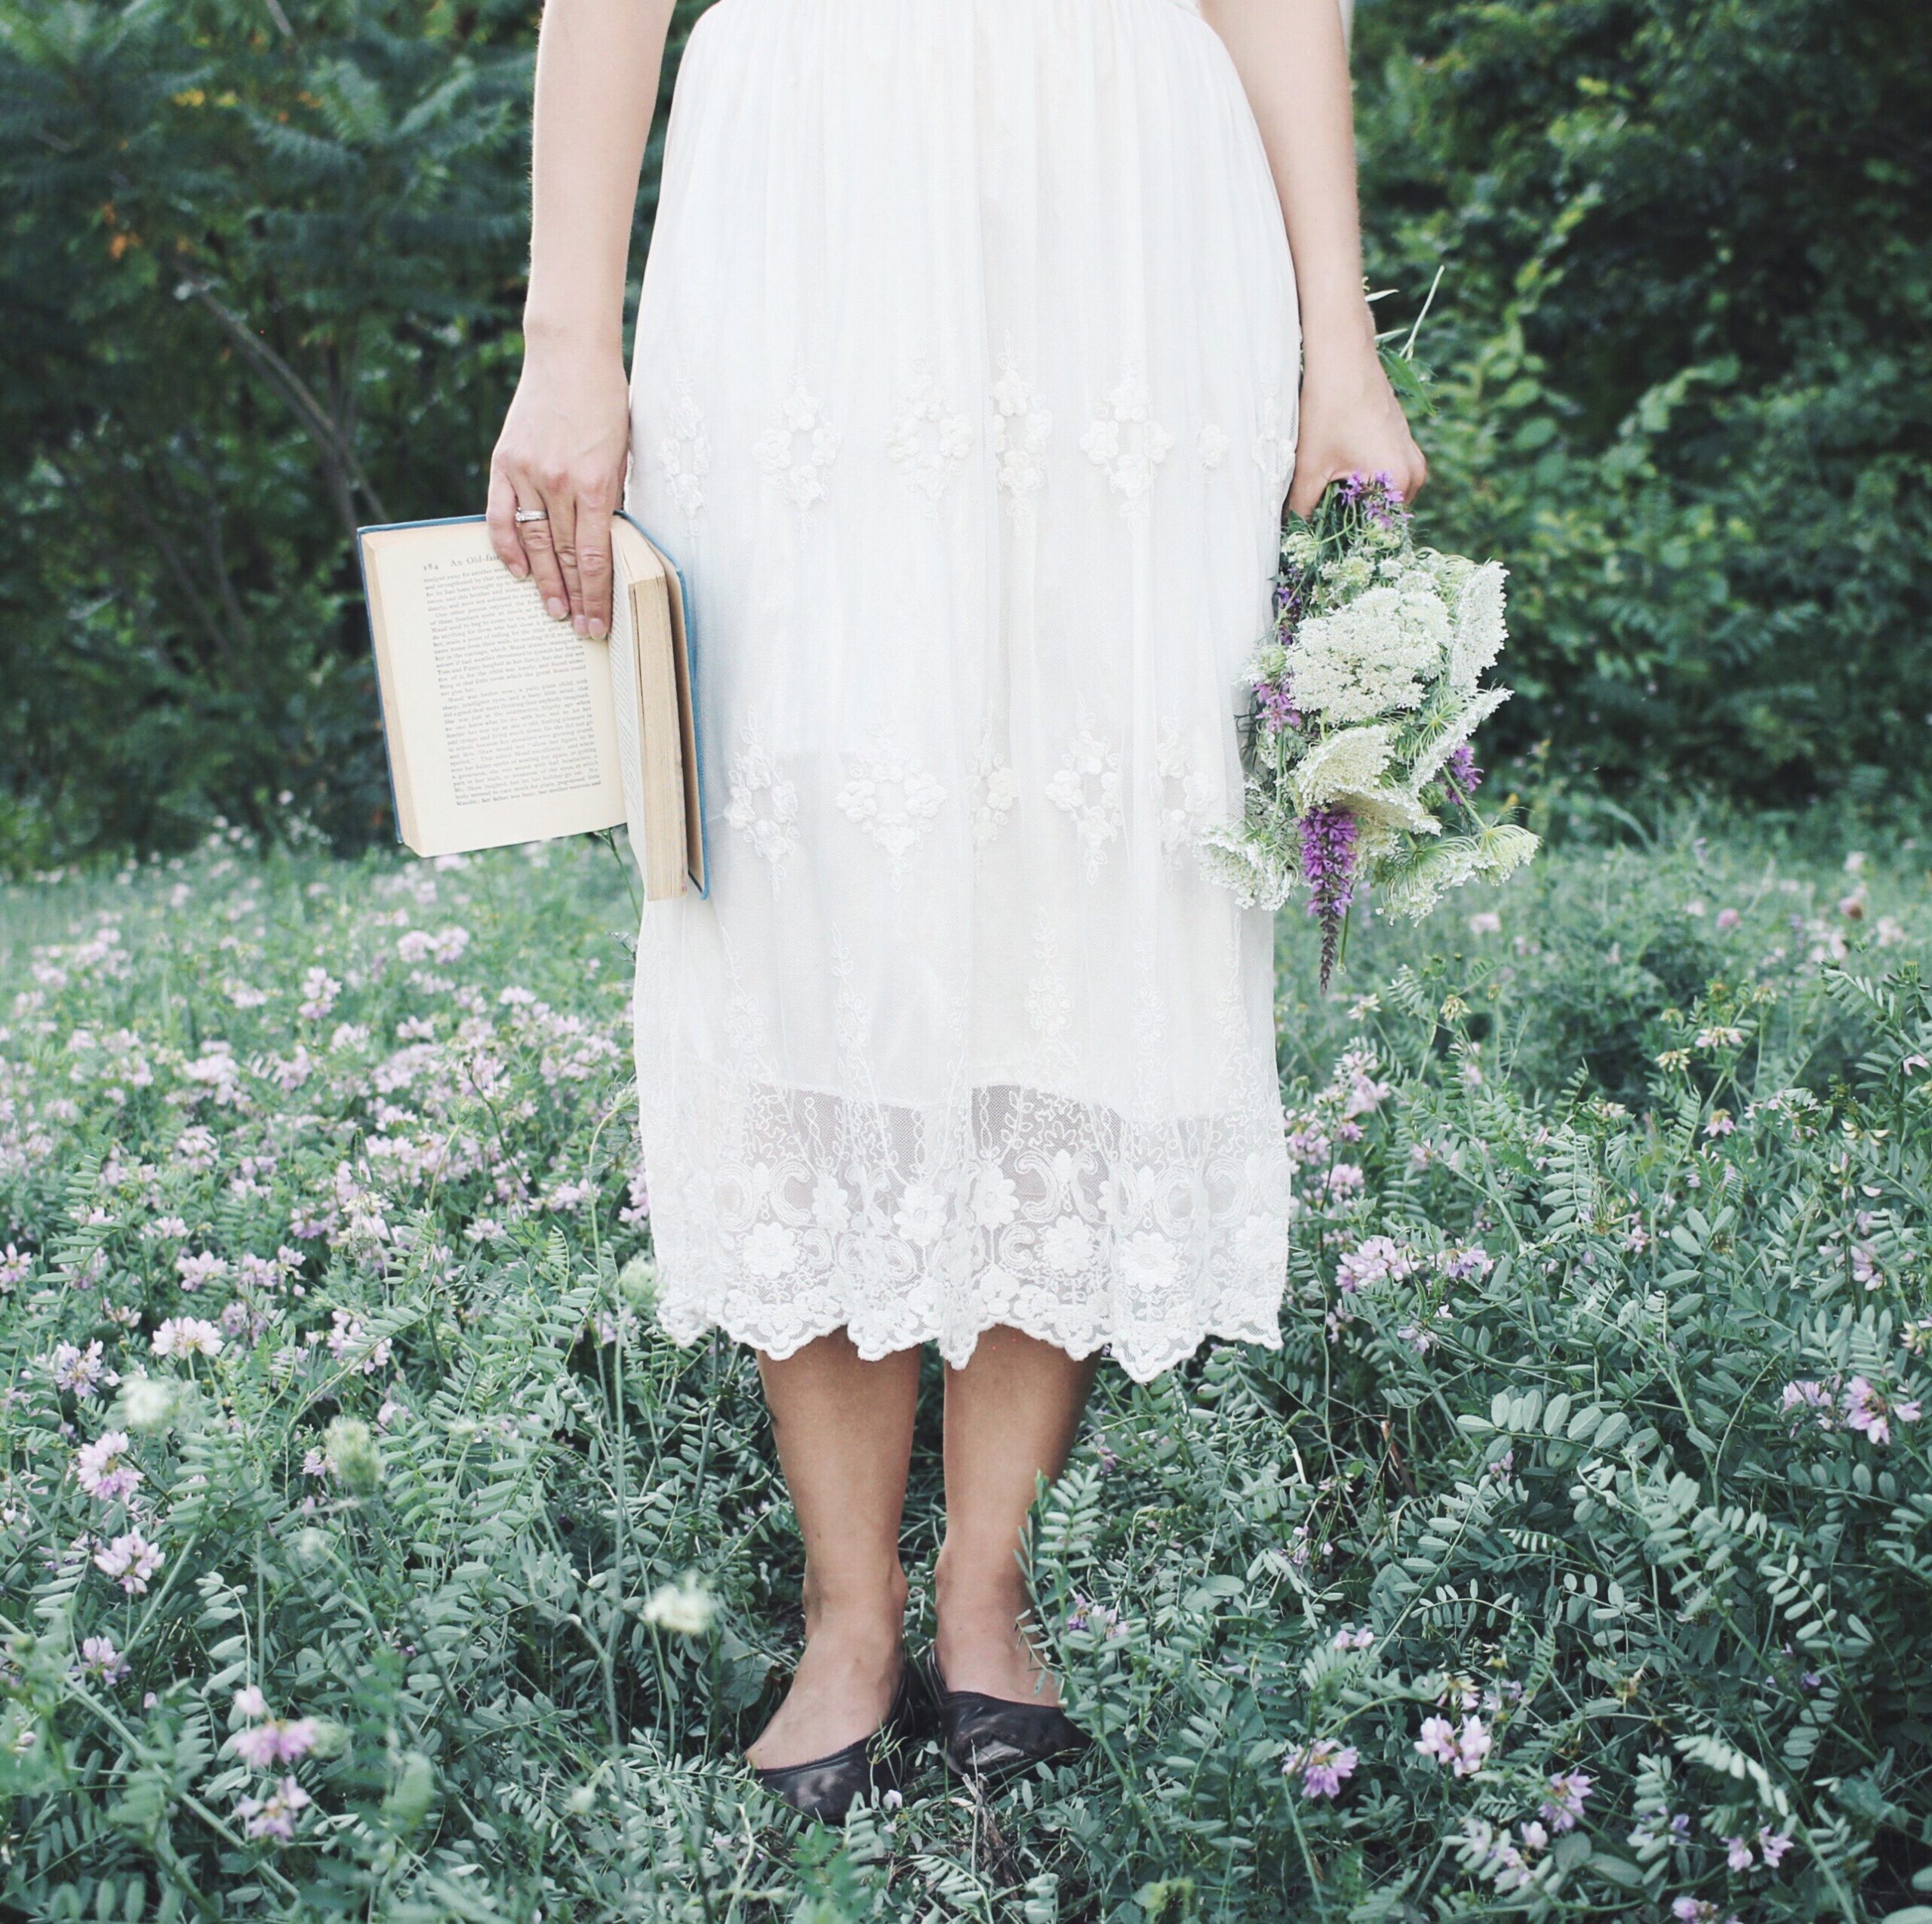
This image is straight from my camera- it has not been edited at all:

Clearly this image needs to be cropped (I take a lot of photos by the road, haha). It doesn’t need a lot of editing, but as is, it would not match the aesthetic of my other moody Instagram photos. Remember, one easy way to make your grid cohesive is to edit every photo the same way.
I always start with A Color Story. First I will crop the image and straighten it a little. Straight images are much more appealing- it can seem like a meaningless extra step when the image is already “mostly straight” but, trust me, every little bit helps. I also brought the top of the photo down so the distracting waistband/bottom of my shirt is not shown.

Use the grid overlay to crop your photo in an appealing manner. When I edit Instagram photos, I follow the rule of thirds. You can read endless articles about the rule of thirds- to simplistically explain it, I make sure that the main focal points of the image either fit into those boxes or intersect with the lines. As you can see here, I chose to put my skirt and feet into the middle three boxes. You don’t have to be very strict with the rule of thirds.
Next I go to “settings” to make a few changes to perfect the image before adding a filter.
This image isn’t as sharp as I like, so I boosted the clarity just a little. The Clarity tool is an excellent rescue for a slightly blurry photo, but you want to be careful with it because too much can easily distort the image.

Next I increased the brightness just a little bit. The filter than I am about to use is rather dark, so I usually make the image just a bit brighter than what I expect my end result to look like.

Once you’ve established a baseline for your image, it is time to add the filter! The filter Sophia from the filter pack stardust makes excellent moody Instagram photos. Stardust is an additional in-app purchase. I have found the extra filter packs to be worth the cost. I use them all of the time. The filter Sophia produces darker images with a slight matte.

Want to know my trick to using filters? Never use them at full strength. Sure, there might be an occasional time that I use a filter at 100%, but that is less than 1% of the time. So how do you decide what strength to use? I do this by dragging the slider to the lowest percent and slowly sliding it to the right. Once I see the image starting to take shape under the filter, I stop it there. It can be tempting to put it at full strength, but the image usually looks over processed as a result.

Now it is time to take this image to the world of VSCO for some quick finishing touches. VSCO can produce moody Instagram photos on its own, of course, but I love the Sophia filter in A Color Story, so I use both.
In VSCO I am going to add a finishing filter. I only use one of three filters in VSCO: HB1, HB2 and A5. I use HB2 more than the others. Again, I almost never use these at full strength and I always use them in conjunction with my favorite filters from A Color Story. All I am trying to do here is add a little more depth to the photo. Pull the slider all of the way to the left and slowly move it to the right- stop as soon as it reaches the appearance you want.

As you can see, I gave it less than half strength. I usually stop here and call it a day, but I noticed that the last action turned my legs kind of orange. Has this ever happened to you? It is very easy to fix orange skin in a photo.

I just open the HSL feature (the last option to the right in settings) to bring down the orange saturation as you can see in the above photo.

So there you have it! An easy step-by-step guide of how to edit moody Instagram photos using two very popular apps. The next step is to grow your Instagram account! Check out my checklist of six tips to grow your Instagram following.


